Players Manual
An extensive manual for all of your players on your server - Please feel free to copy and paste this at your leisure.
- Players Command Guide
- Linking & Economy
- Player Information & Communication
- Redeeming Tip4Serv Purchases
- Clan System
- Fortify - Raid Protection System
- 96.9 KDFM - RF Broadcaster Alerts
Players Command Guide
Welcome to the players command guide!
Server owners, please feel free to reference or copy and paste this documentation into your server as you please, this will hopefully help players understand how to efficiently navigate their way through the player section of the bot. Alternatively here is the URL should you wish to share it with them directly to this document [VereTech Players Guide]
Through out this guide we will be covering every interaction that players are able to make within your Discord and what the benefits could be by doing so.
So without further ado, let's get into it!
Linking & Economy
The first major advantage for you, as players to make the most of the VereTech bot is the economy feature, your server owner has the option to install an online store, should they be premium and choose to do so, which allows you to earn in-Discord currency. This currency can then be spent in store for items which carry out an automated in game delivery, directly to your inventory.
However, before we can use any of it we need to go through the notion of linking your Game Console Username to your Discord User name.
Username Linking
To link your discord to your console is a pretty simple step, all we need to do is use a / command in discord. There may be a dedicated channel in Discord for this, please speak to your server owner for more information.
Once we find ourselves in the correct channel for linking, in your message bar please type the following;
/link
Doing so will show you this option;

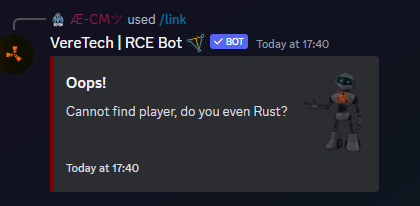
As you can see you need to enter your GamerTag/PSN Name and then select the console on which you play from, this may be Xbox or PS, it is important to remember that you will need to be on the rust server for this to be possible.
Once you have filled out this information please click send, the bot will respond to you to confirm or deny connection as seen below;
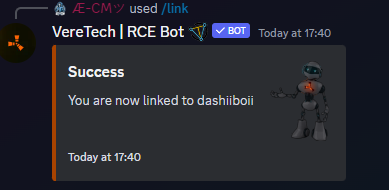
You are now linked and ready to enjoy the maximum features of economy!
Checking your Balance
As you go through Rust life, there are certain ways in which you can earn currency, for information on how your server is set up, please speak with your server owner.
Once you understand the method of earning, it will be a useful tool to be able to check your balance, to do this we need to put the following command in your text box;
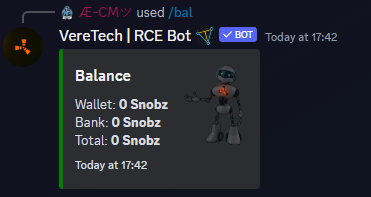
/bal
The bot will reply with your total balance and break it down for you into cash, bank and them a grand total. See below the example for how it should look;
Depositing your Funds
When in-game, you can lose your all important cash if you have not yet deposited it. By being killed you are allowing other players the opportunity to steal from you following killing you, they are directly rewarded for the kill from any available cash you have in your wallet that isn't safe inside your bank. To deposit into your "Bank" you will need to use the command /dep you will then need to select the "amount" you wish to deposit (leaving this blank will deposit all of your funds). Please see the example below:-

Buying an Item or a Kit
Now that you are linked and know your balance, its time to use the store!
To browse the items for purchase please use the command;
/buy
Select your server and then hit send. You will now be shown a list of categories to choose from, should you need help understanding these, please speak with your server owner. Simply select the item you wish to purchase and hit enter.

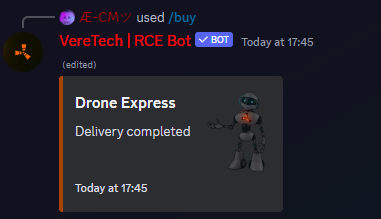
You will see that the delivery is under way.
Please Note: it is important to ensure that you have enough space in your inventory before purchasing as insufficient space could cause item delivery failure.
Gambling
Here at VereTech we have made it possible to also gamble some of your purse in the attempt to win more! We currently have 2 options;
Bandit Camp Spin Wheel
We have installed the bandit camp wheel into the bot! To use this feature, please use the following command in your text box;
/spin
From here you will be given 2 options, select amount - Limits could be in place at your server owners discretion. 2nd option is color, these directly correlate to the real bandit camp wheel;
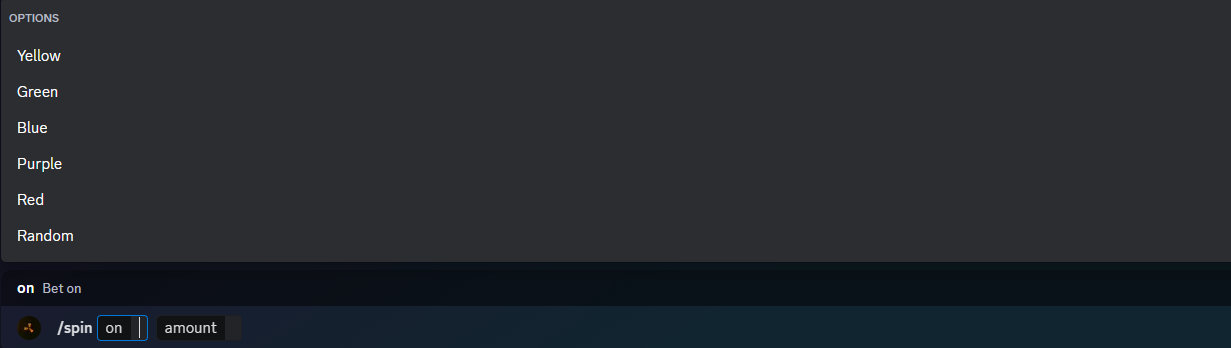
Yellow - 1x + bet,
Green - 3x + bet,
Blue - 5x + bet,
Purple - 10x + bet,
Red - 20x + bet,
And finally a random option.
Once selected hit send and watch the wheel spin! Good luck!
Blackjack
Our second and most recent gambling method is Blackjack, an old favorite. For those that have never played, please click here for the general rules of Blackjack. To launch the Blackjack feature us the command in the text box;
/bj
This launches the blackjack feature where you will be able to enter an amount to bet - Again, the server owner has the ability to set a max and min bet amount, please speak with them for more details.
When you have selected your amount and started you will be dealt your 2 cards, with the options to hit for stick, this is intractable by emoji, see below;
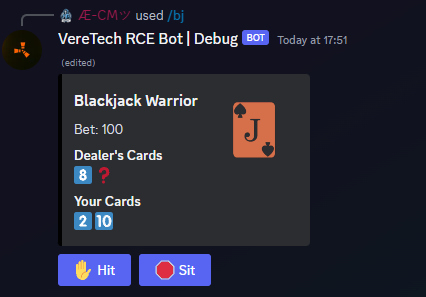
Aim of the game is to get as close to 21 as possible without going over and going bust. Once you've decided to use stick your dealers turn is then automatically completed and the winner is determined.
Player Information & Communication
Welcome.to the final chapter of the player usable commands with VereTech.
Here we are going to cover Player Information, Stats, K/D ratios, in game chat messages and everything invetween.
Player Information
The VereTech bot uses a database to store and recall information on players as requested, we have utilised this and created a feature that allows players to monitor their own stats in discord.
We can do this by using the following command;
/stats
Using the stats command the bot will use your Discord Username and Console Name to generate a snapshot of your history with the server since the bot has been connected. If you was part of the server before the bot was connected, unfortunately we have no way of obtaining that information.
Players can see some interesting stats including;
- Kill/Death Ratio (K/D
- Total PvP & PvE Kills
- Total PvP & PvE Deaths
- Current Kill Streak
- Last Player Killed
- Last Player Killed By
- Worst Enemy Info
- It also includes time stamps! Please see the image below for more info.
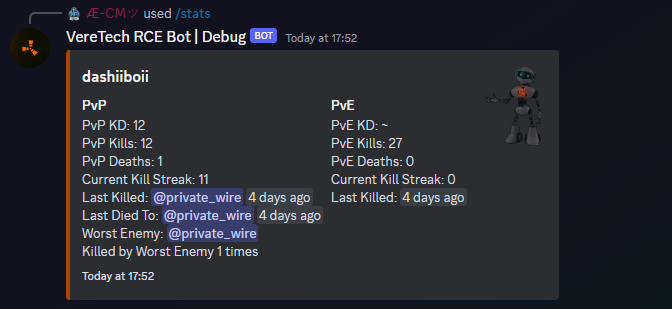
As you can see the information is quite extensive and will evolve as we are able to obtain more information.
In-Game Chat via Note Edits
Another fun and creative way of communication is in-game using the note edit system. Your server owner needs to activate this. If they haven't then please reach out to them if this is a feature you want to see.
Activate in-game Chat
To use that chat we need to use the following command in Discord by entering it into the text box;
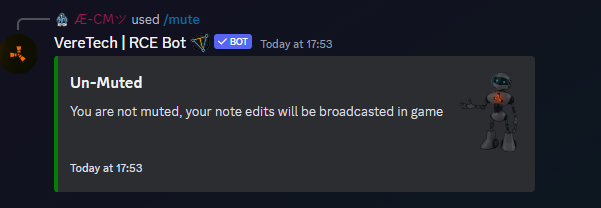
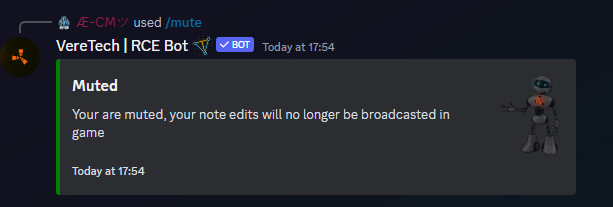
/mute
All players are set to mute by default and will need to unmute themselves for this feature to become active, so you will see you have 2 options, Yes and No. Choosing No will activate the note chat for you so that any note edits you make will be broadcasted to the server via text on screen. Please Note: D11 and GPortal have an active profanity filter, any words that breach this filter will cause the entire message to fail so play nice! Please see the example image below;

Deactivate in-game Chat
Should you no longer want to use the note chat or need to turn it off for a period of time then please repeat the command in the chat box in Discord and when prompted select Yes, this will then remute you and deactivate your noted from broadcasting. Please see image below;
Redeeming Tip4Serv Purchases
Claiming
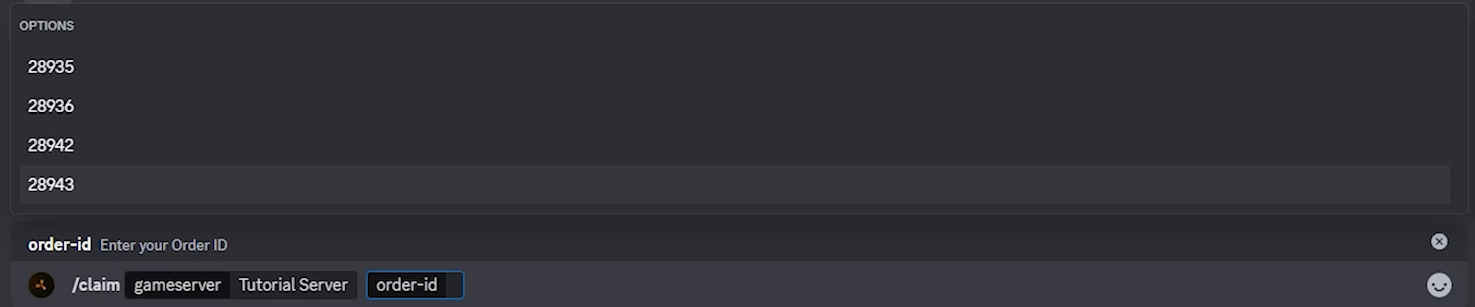
For you to claim items following your purchases, you will be required to return to the Discord server for the gameserver you are playing and you will need to use the command /claim, this is true for BOTH items AND subscriptions.
Once you have used the command you will need to select the gameserver on which you wish to redeem it and then the order-id will be an auto populated list, listing all of the orders, please see below;
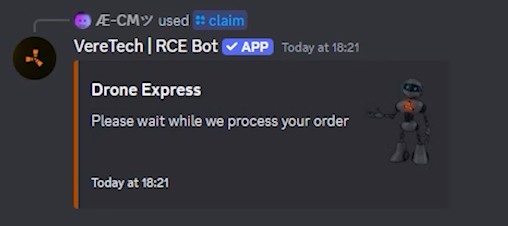
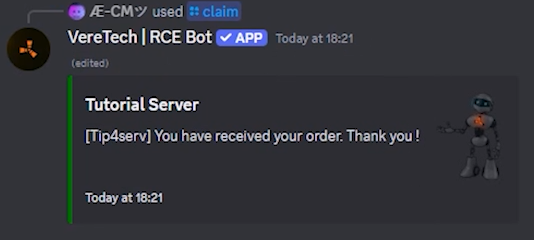
Once you select their order and hit enter, you will receive a notification showing its been processed and then again confirming its delivery; as below;
Please Note: If your order contained an item AND a subscription then these will ALWAYS be separated into 2 order ID's.
If there are any concerns or repetitive failures and/or errors then please reach out to your gameservers Admin team for their support.
Clan System
Welcome to the feature "Clans", this system allows players to create their clan within Discord which will assign the clan with their own role, it also changes any in-game and Discord killfeed with their clan tag to be introduced in front of their name.
The clan feature has opened another avenue for us to dive down to bring you many more features in the near future with VereTech.
Player Controls
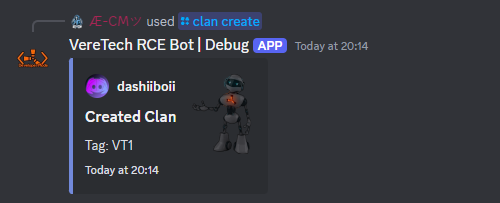
Creating a Clan
To get started with creating a clan, users can use the command /clan create which will give them the following 2 options;
tag: Users will need to enter a alphanumerical tag (ABC123) clan tag which must contain 3 characters. (These must be unique and can not be the same as another clan in your Discord server)
colour: Users will also have to select a colour for their clans, this colour must be selected from the pre-filled menu prompted by the bot. (As above, one colour can only be associated with one clan)
Please see below for the example;

Once submitted, players will receive a confirmation on screen that the clan has been created, it will confirm the clan tag and also the edge of the response will be highlighted in the chosen clan colour, this is also true with the role created within Discord, you will see that the role colour is set to your chosen colour, see below for our example;

Editing a Clan
Bored of the clan name and/or colour? Or made a mistake with either option? Clan founders wan use the command /clan edit to change the name, colour or both of their clans identity, please see the example below;

Inviting to a Clan
When you want to invite members to your clan, you can do so by using the command /clan invite, this is limited to Founders and Chiefs, something that is covered further down in the documentation, you will be asked for the invitee's Discord username, this will auto fill as you start to type it, please see below for the example;
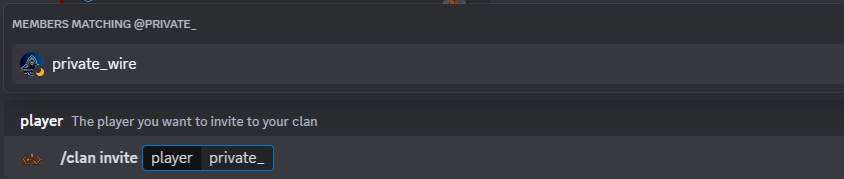
Once you select your player and send you will be notified on screen that your invitation has been sent.
If a player is already a member of a clan then you will be notified on screen and an invitation will NOT be sent, also, if the player you are trying to invite already has an active invite to that clan, again, you will be notified. Please see examples below;

Accepting/Rejecting a Clan Invite
Once members have been sent the invitation to join a clan they can use one of the following commands, /clan accept to accept the invite and join the clan, or /clan reject to reject the invitation. This will pre-fill wish all your available active invites.

Revoking a Clan Invite
If you have sent an invite to a player you no longer want to join your team, or you are higher up on the food chain that another clan member and want to revoke their invitation, you can do so by using the command /clan revoke, This will then give you a pre-filled menu selection of all active invites for you to choose which invitation you want to revoke. Please see below for the example;

Promotions/Demotions
Within your clan there are 4 levels of authority, these are;
Founders: These are the clan creators and are the only member of the clan with all permissions to edit and disband the clan, founders can also promote and demote to all levels up to grubbers, they can also revoke all invites from every member holding the Grubber and Freshie permissions.
Grubbers: Grubbers are the highest rank you can be promoted to within a clan that you do not own, Grubbers can send invites, revoke their own invites and all invites sent by Freshies, they also hold the power to promote and demote between the levels of Noob and Freshie. Finally Grubbers hold the power to kick Freshies and Noobs from the clan.
Freshie: Freshies are approved members of the clan, they have the ability to send and revoke only their own invites to the clan.
Noobs: Noobs are the entry level to clans, although they hold a position within the clan, it comes with no authority in the sense that they cannot perform any actions within the clan.
Using the command /clan promote and selecting the member they wish to promote the relative members can perform promotions within their powers as mentioned above, should they not hold the relevant permissions then they will be notified via a response from the bot. Please see below for the example;

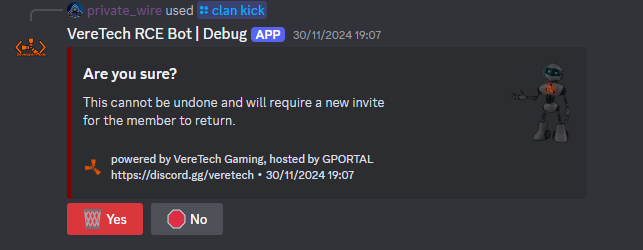
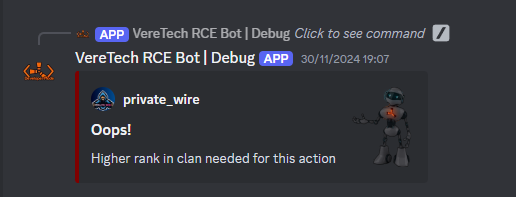
Kicking from the Clan
Using the above hierarchy, members can kick other from the clan using the command /clan kick, by selecting your player you will be able to kick them from the clan, but remember, you must have high enough permissions to do so, failing to have these permissions will lead to an error message, please see the 2 examples below;
Leaving your Clan
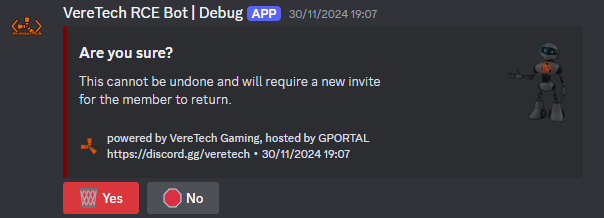
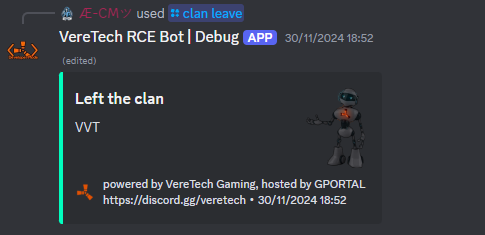
Had enough of your clan and decided its time to leave? Or received a better invite to another clan? It is important to remember that you can only be involved with 1 clan per Discord Guild at any one time, to leave your current clan you will need to perform the command /clan leave, doing so will ask you "Are you sure?" as this action cannot be undone, upon clicking yes, you will be notified that you have successfully left the clan, please see below for the examples;
Disbanding your Clan
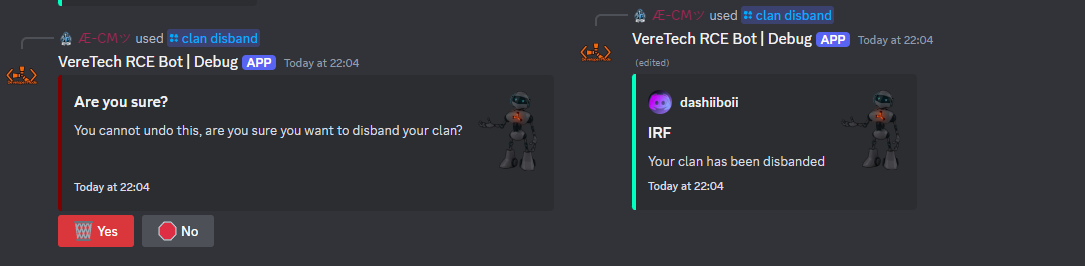
You can completely disband your clan and remove it from existence if you are the founder, this means all traces of you clan will be removed from the Discord, using the command /clan disband, you will be asked "Are you sure?", this action is undo-able and requires you to select yes or no to confirm, selecting yes will confirm your deletion, selecting no will return back. Please see below for examples;
Display Clan information
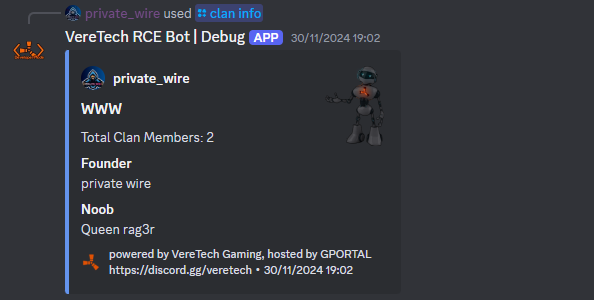
Operating an "open book" policy, you can obtain the information of other clans using the command /clan info, selecting the clan you wish to view the information on, you will be greeted with a response detailing the clans information including;
Clan Members Count
Founders Name,
Grubber(s) Name(s),
Freshie(s) Name(s),
Noob(s) Name(s),
Please see below for the example;
Fortify - Raid Protection System
Time to look at how Clans can make the most of the Fortify features including; Creating a Fort, editing a Fort and deleting Forts.
Prerequisites;
Create a Clan
Please note: All Forts must adhere to the settings configured by the Admin of the gameserver - Please contact them for more information. ALSO for the Fortify system you MUST be part of/Owner of a Clan within Discord with the correct Clan permissions!
Please click the blue text should you need to learn more on Clans.
Creating a Fort
To create a fort, as mentioned, players will need to be part of a clan and bare either the "Founder" role or the "Grubber" role, Freshies and Noobs cannot use the Fortify settings!
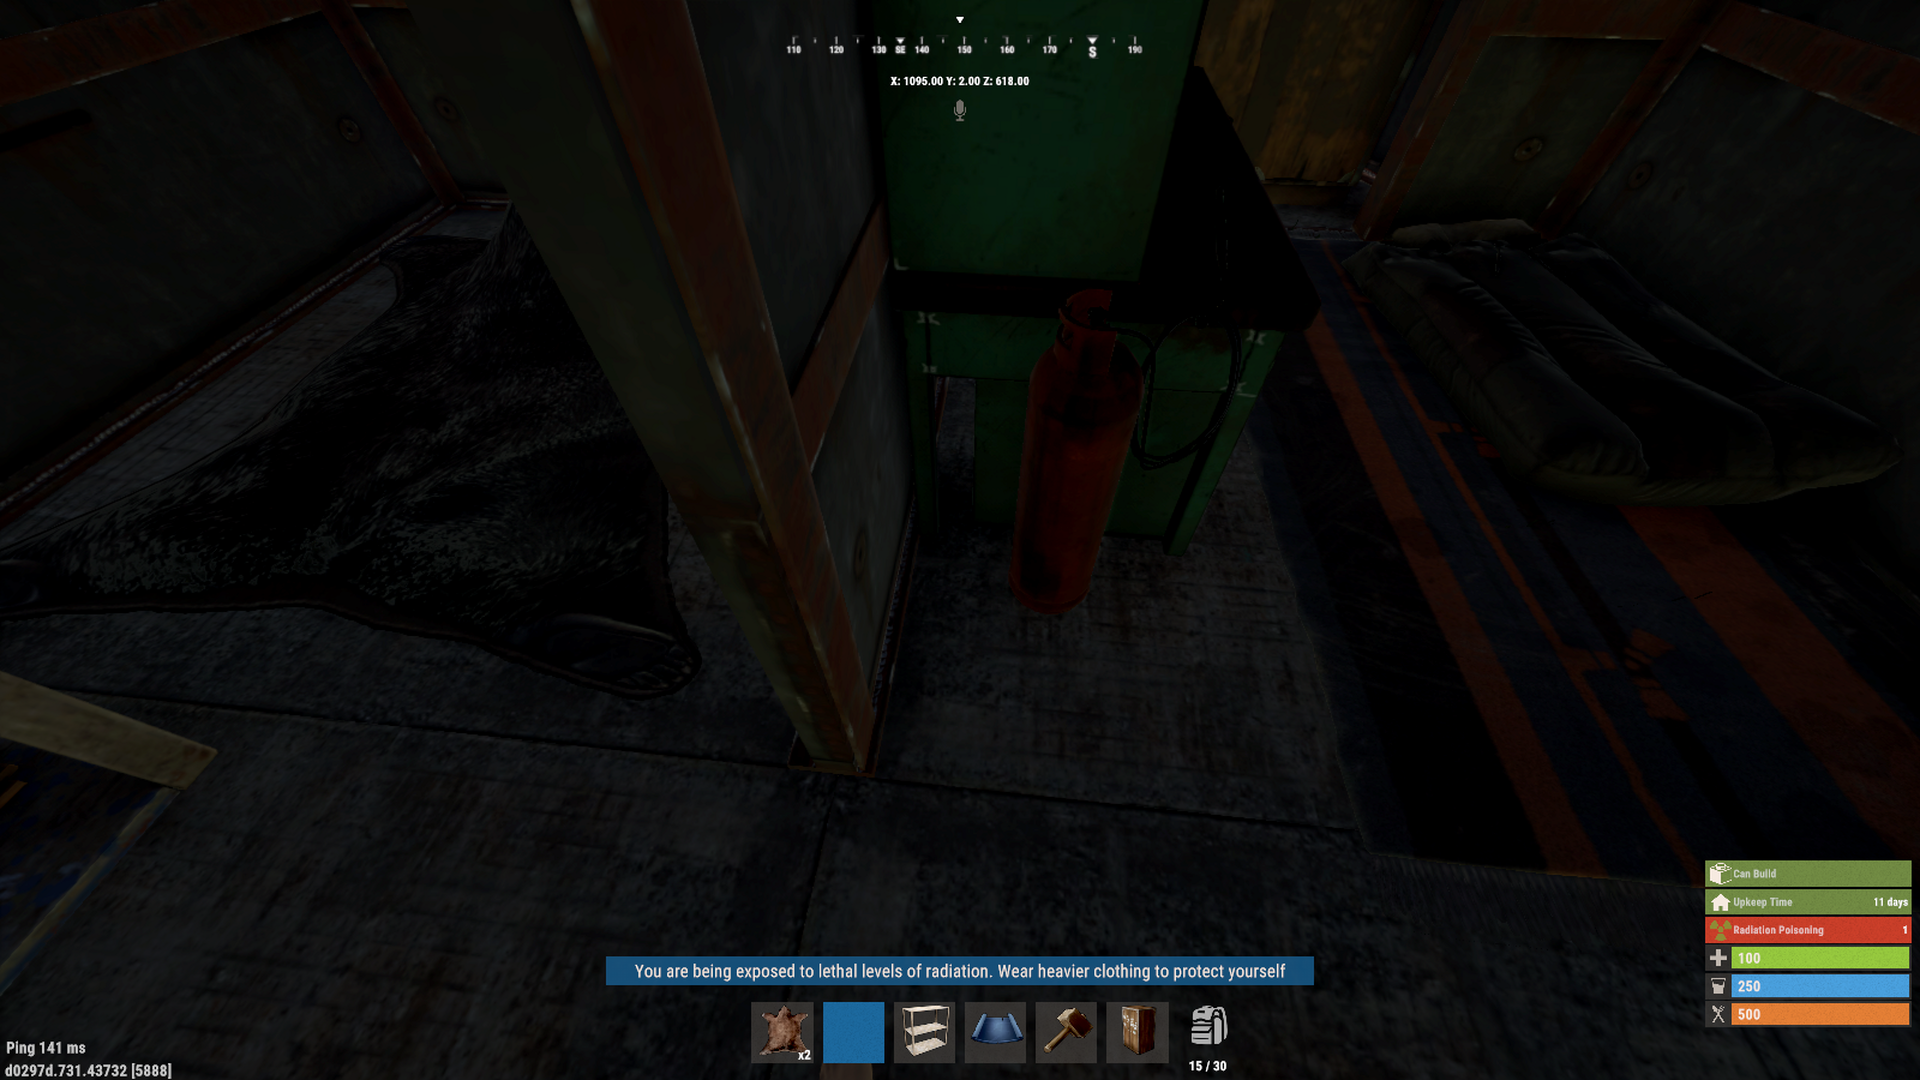
Once you have met this criteria head in game and find the center of your base - As we have below;
Once in the center, head back to Discord and use the command /fort upon using the command you will be required to select your gamserver from the list and hit enter.
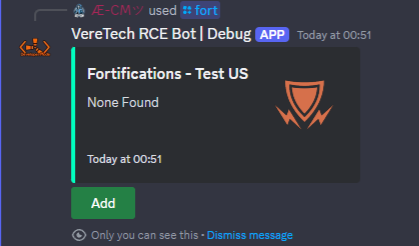
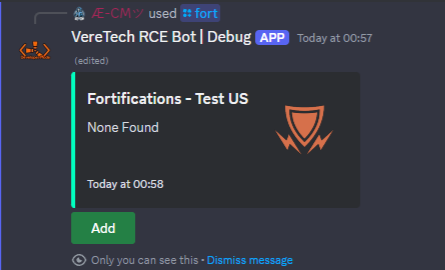
Once processed you will see a list of all of your current forts - Ours currently has none so we can select "Add";
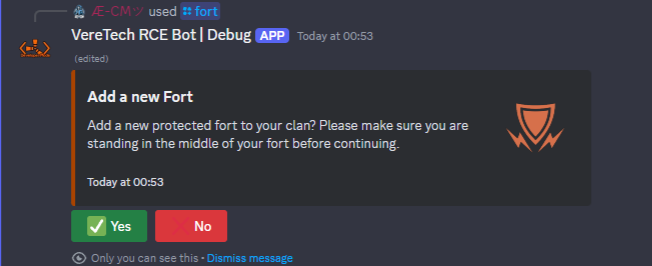
You will then be asked if you want to make a new Fort for your clan and if you are standing in the middle of your base before continuing - Once these 2 statements are true, select "Yes";
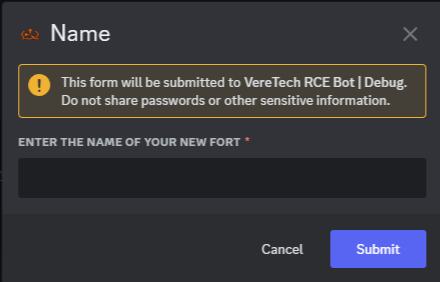
You will then be greeted with a text box asking you to name your Fort - Please note: This is limited to 3 characters (ABC123);
Once you are happy with everything select "Submit" and allow up to 60seconds for your Fort to be applied! Side Note: If the server is currently in any mode other than NO RAID or ScheduleRaid you will not see your Fort as it will not be active until your entire Clan logs off.
Deleting a Fort
For users to delete a fort they will again have to use the command /fort and you will be greeted with all of your Forts, simply use the drop-down menu to select a fort from the list to delete;
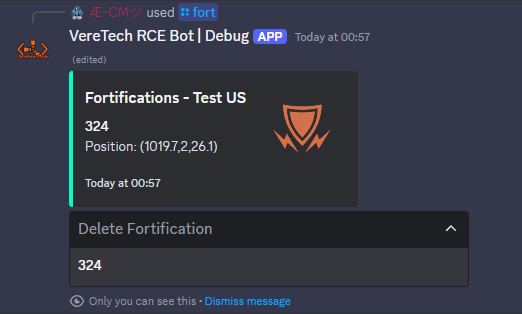
Once you select your fort to delete, you will see that the message will update and that fort will no longer exist;
96.9 KDFM - RF Broadcaster Alerts
96.9 KDFM is where you can subscribe to in-game broadcaster frequencies and receive alerts into your Direct Messages (DM's).
Global Notifications
The first step to get started is to ensure you have Global Notifications turned on, you can configure this by using `/notify` in the DM of the VereTech RCE Bot.
When you first run the `/notify` command, you will see this:

Once you toggle the status to "Enabled", you will then see:
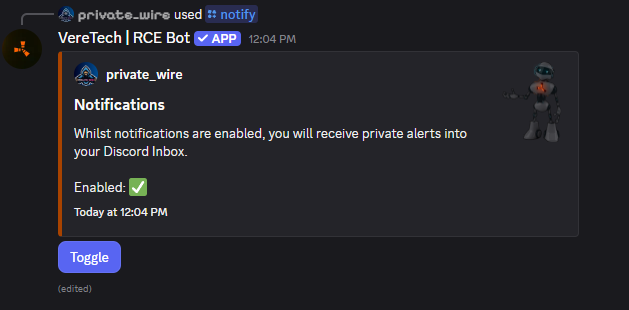
Whilst Enabled, the VereTech RCE Bot has permission to DM you. If you want to stop receiving DM's from our bot, you can once again use `/notify` and disable. We will now never DM you for anything.
Tune
Now that you have Global Notifications turned on, you can now head back to the Discord Server of the Gameserver your playing on and begin to tune your Discord Radio into the games frequencies.
Start by using `/tune` and select the gameserver you want to receive alerts for:

If you have "Global Notifications" turned off, you will see a friendly reminder to enable it to receive alerts:
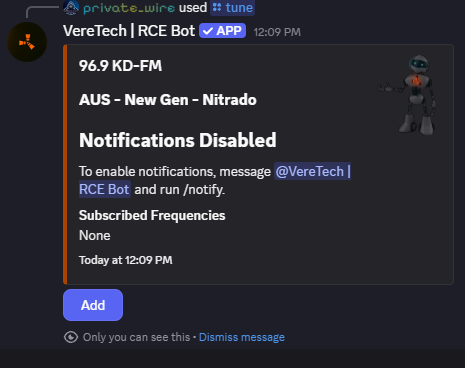
Otherwise you will see:

The response of `/tune` is hidden and other players cannot see what frequencies you have tuned your Discord Radio into.
To tune your radio into a frequency, select "Add":

You have two fields you need to fill in:
- Frequency
- The in-game frequency you want to receive alerts for.
- Name
- A nickname, this might be "front door turret targeted" or "boat base getting raided". What you choose here will be how you will be alerted when the frequency is triggered.
Once you have filled out the above info and pressed "Submit", you have now tuned your Discord Radio into that frequency:

You will now have the choice of adding another frequency or deleting an existing one by selecting it from the dropdown menu.
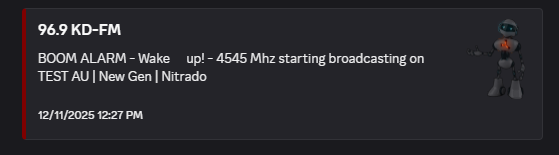
Once your frequency is triggered, you will receive a message from the VereTech RCE Bot with the Name, frequency and Gameserver name where the broadcast is occuring.
When a Gameserver wipes, all your subscribed frequencies are also wiped!